
Nebraska weather can change in a hurry.

Learn how spray foam roof insulation works on flat and low-slope roofs, when it’s a good fit, and what building owners should know before choosing SPF.
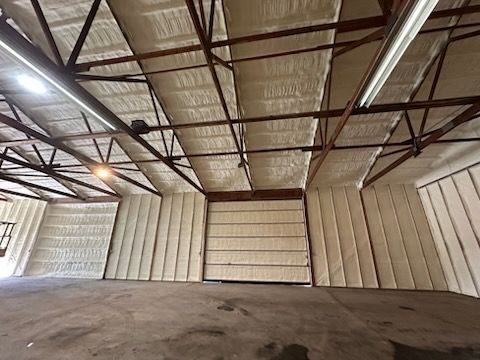
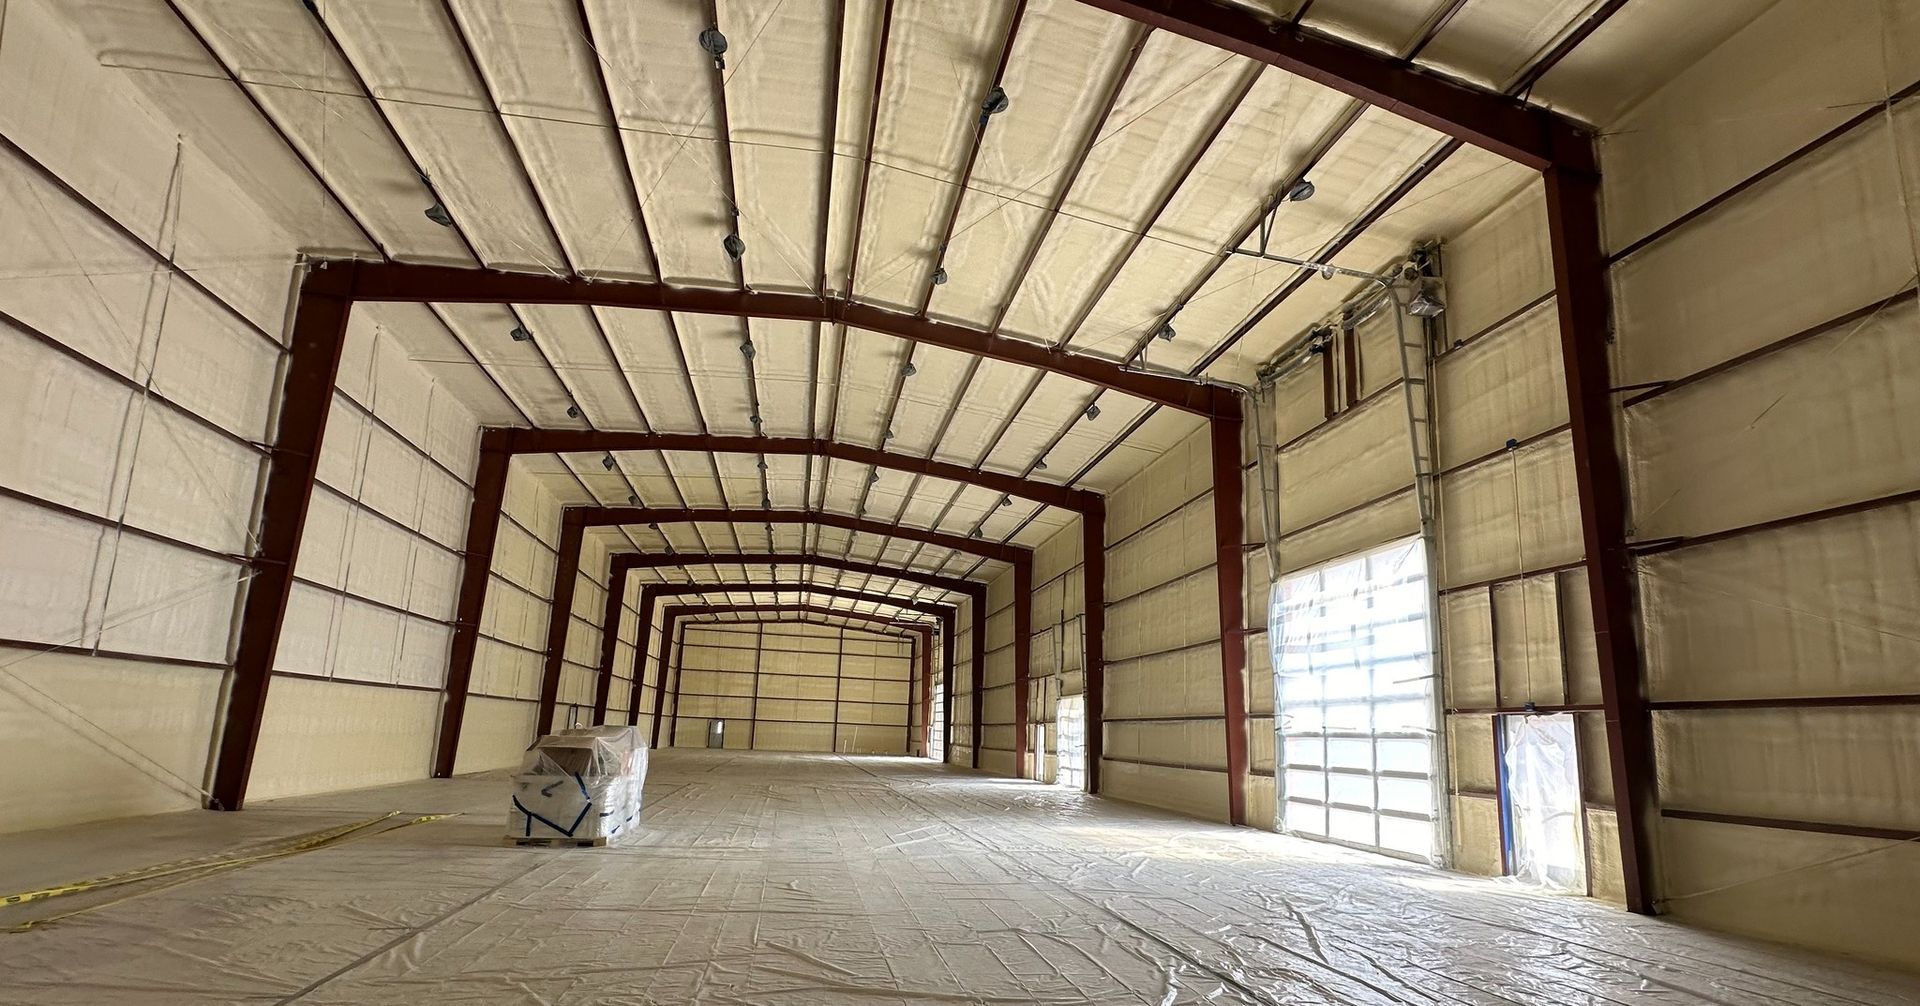
See where commercial closed-cell spray foam is used—metal buildings, warehouses, cold storage, and offices—and why it helps with condensation and costs.
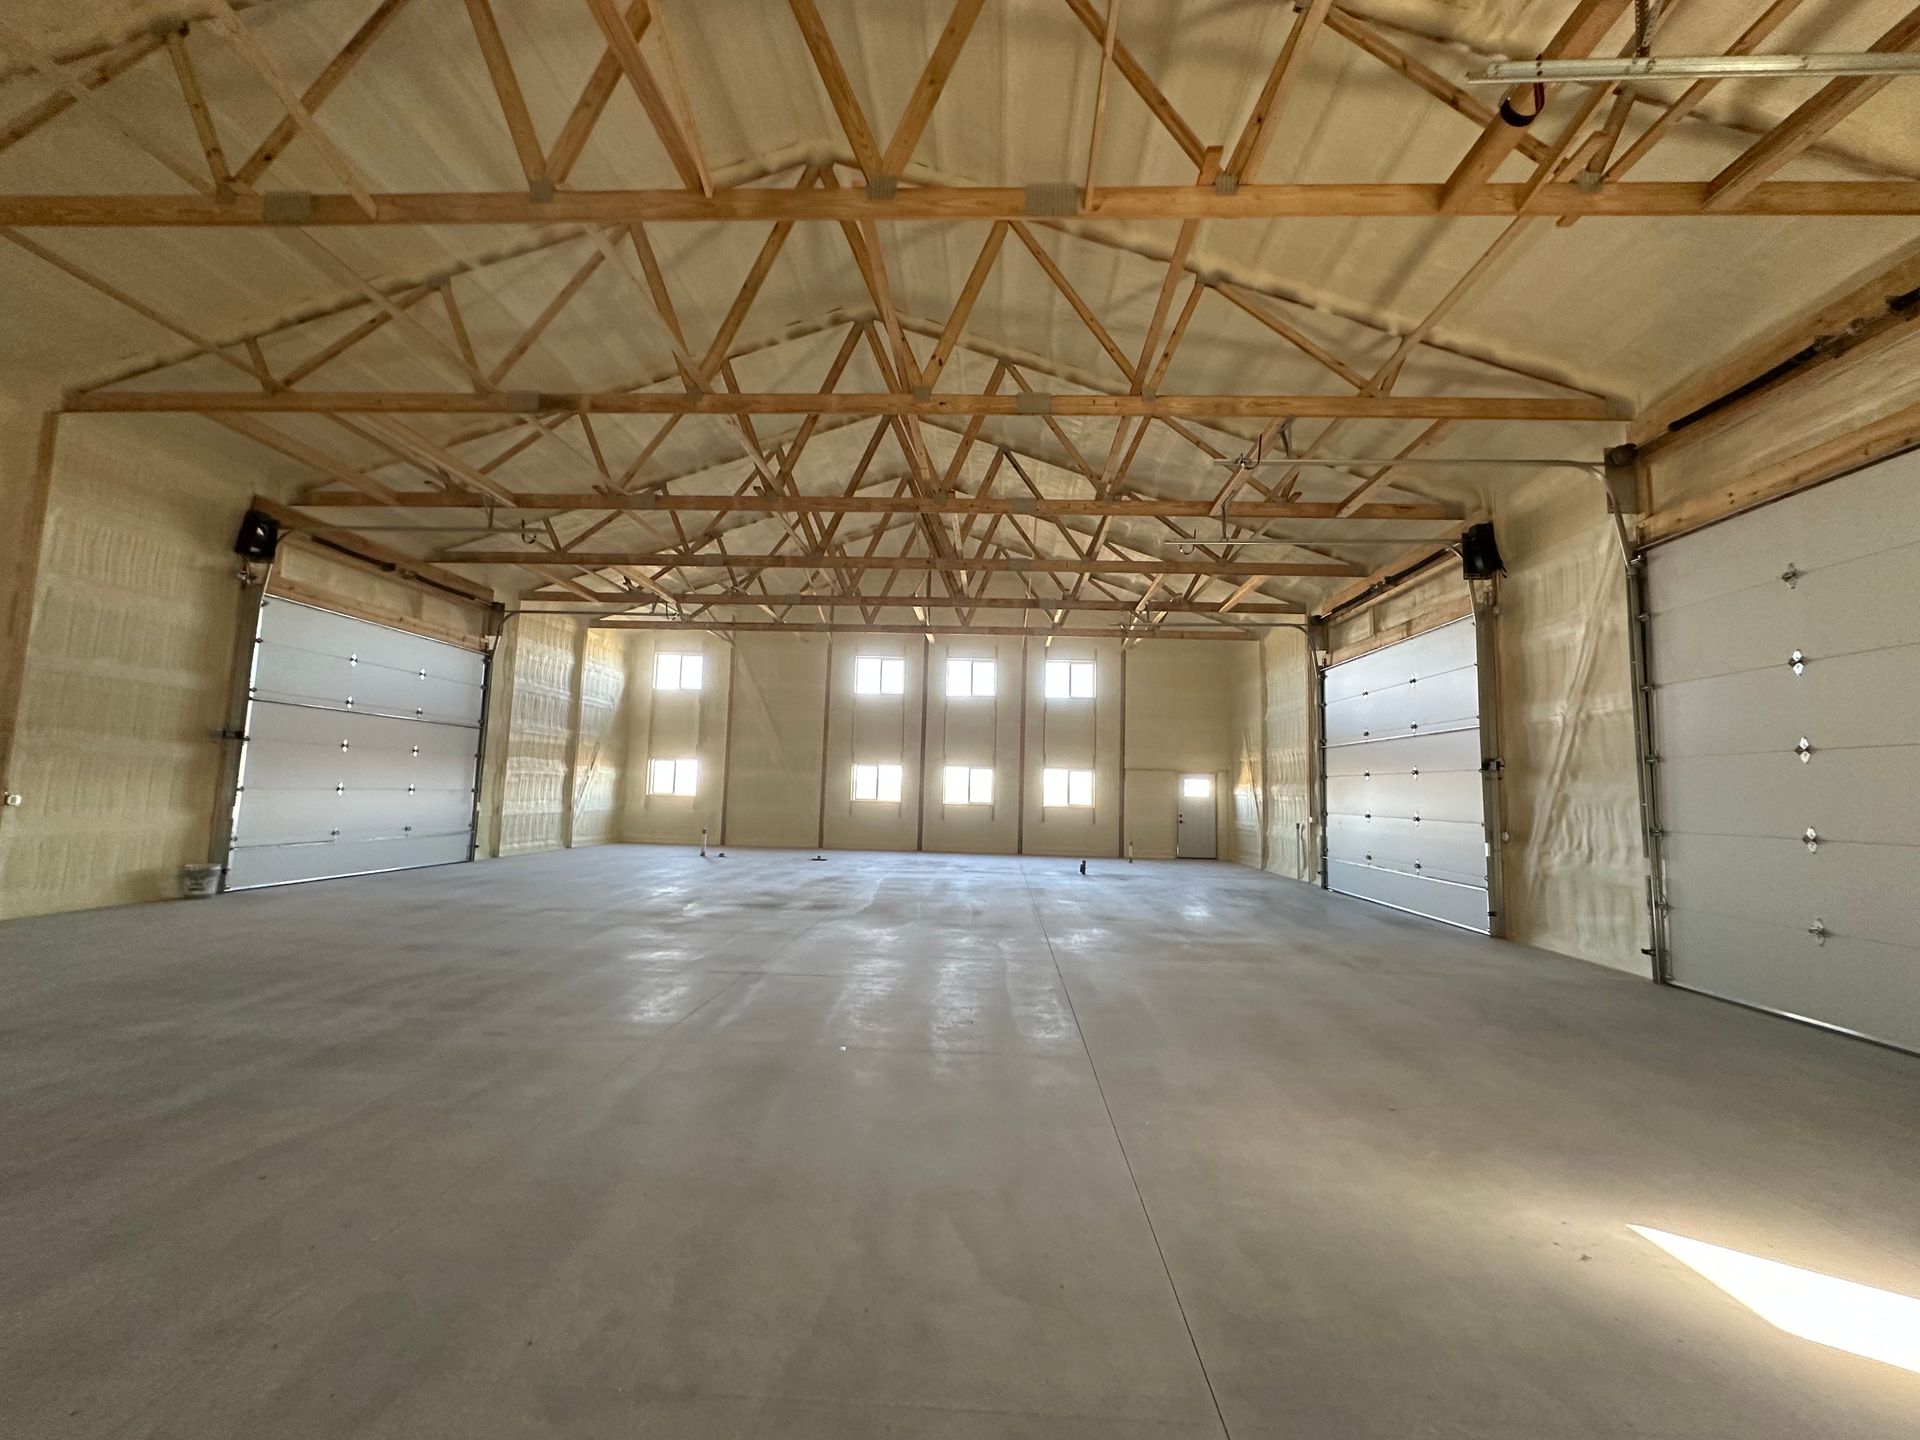
Planning spray foam for a pole barn? Learn when roof-only is enough, when walls matter, and how to choose based on heat, use, and condensation.
Crawl spaces can cause cold floors, drafts, and musty odors. Learn insulation options, moisture basics, and why closed-cell spray foam is often a strong fit.
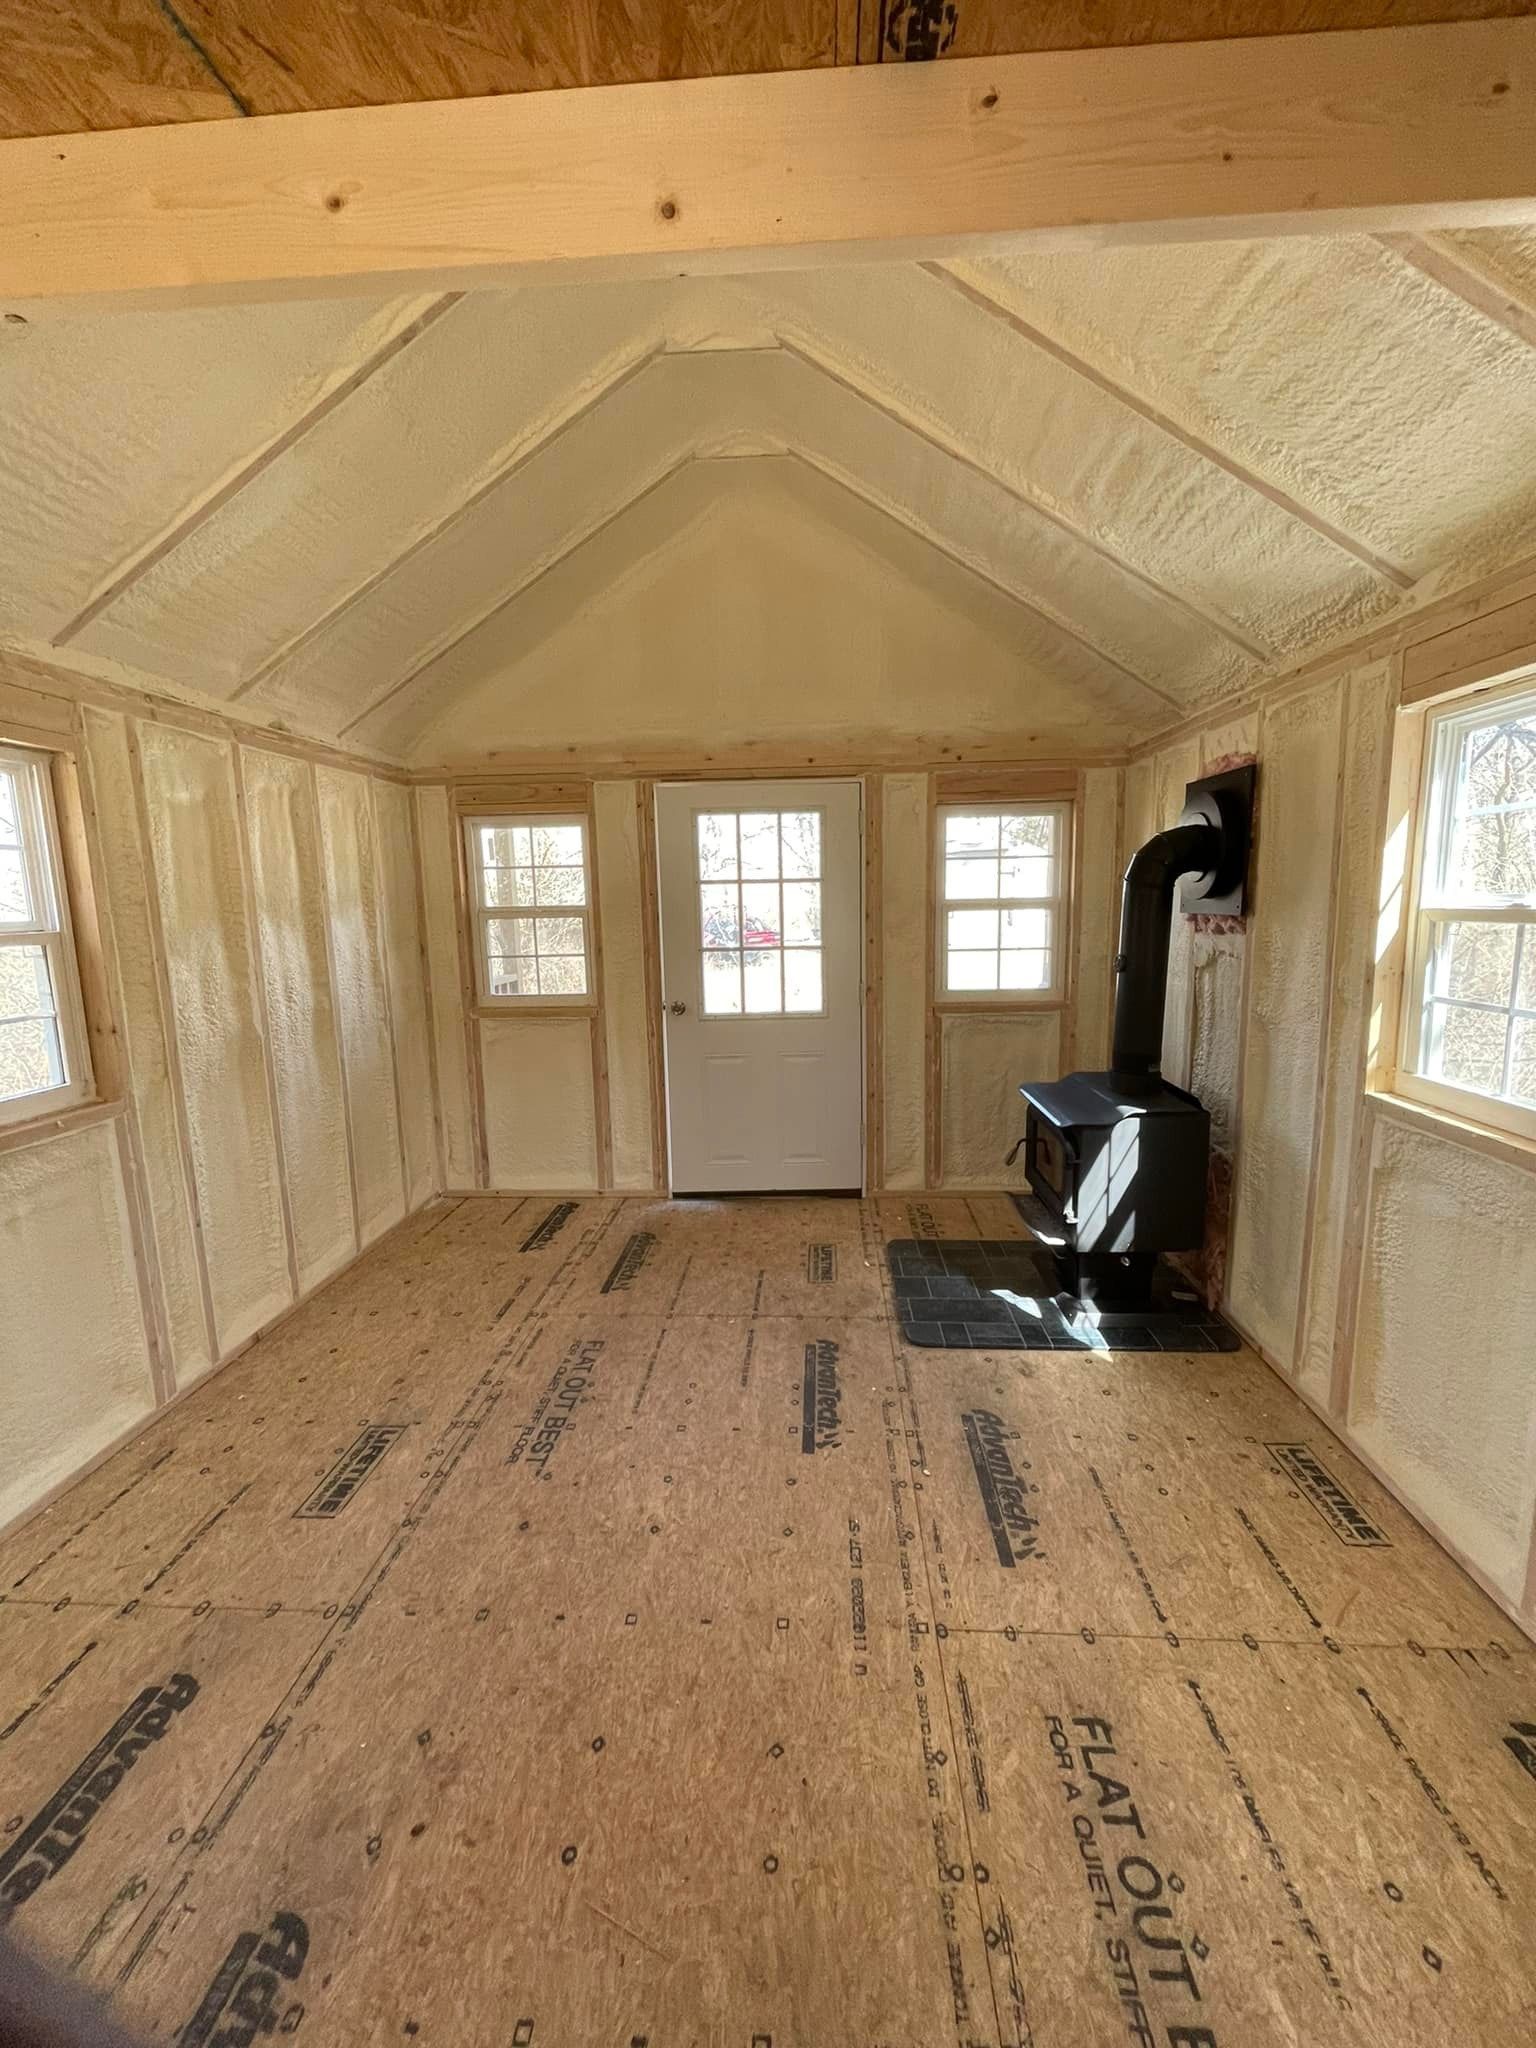
Insulation slows heat loss, but air sealing stops drafts. Learn the difference, where leaks happen, and why closed-cell spray foam often delivers the biggest comfort gain.
Learn what R-value per inch means for closed-cell spray foam and how to choose thickness for comfort, condensation control, and energy savings.

Metal Building Insulation: Best Options for Condensation Control

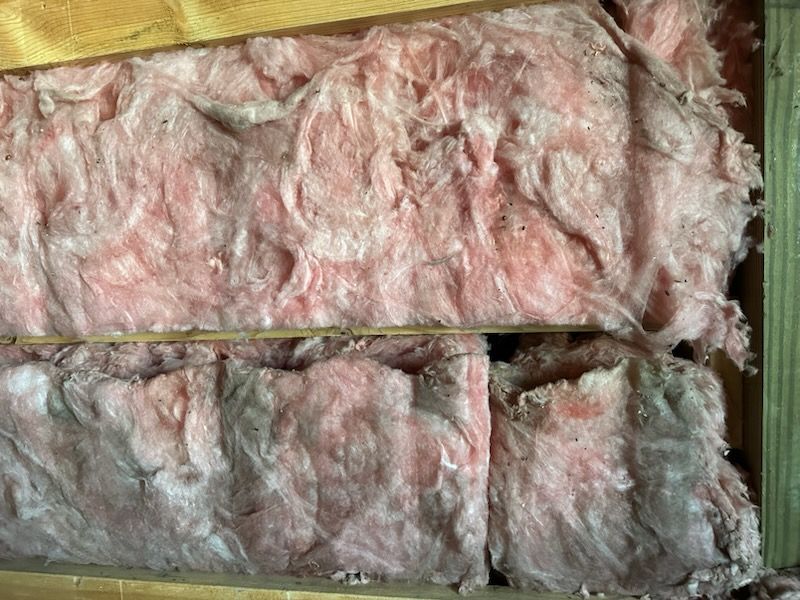
Fiberglass is common, but closed-cell spray foam seals air leaks and controls moisture differently. Compare comfort, condensation, and long-term performance.
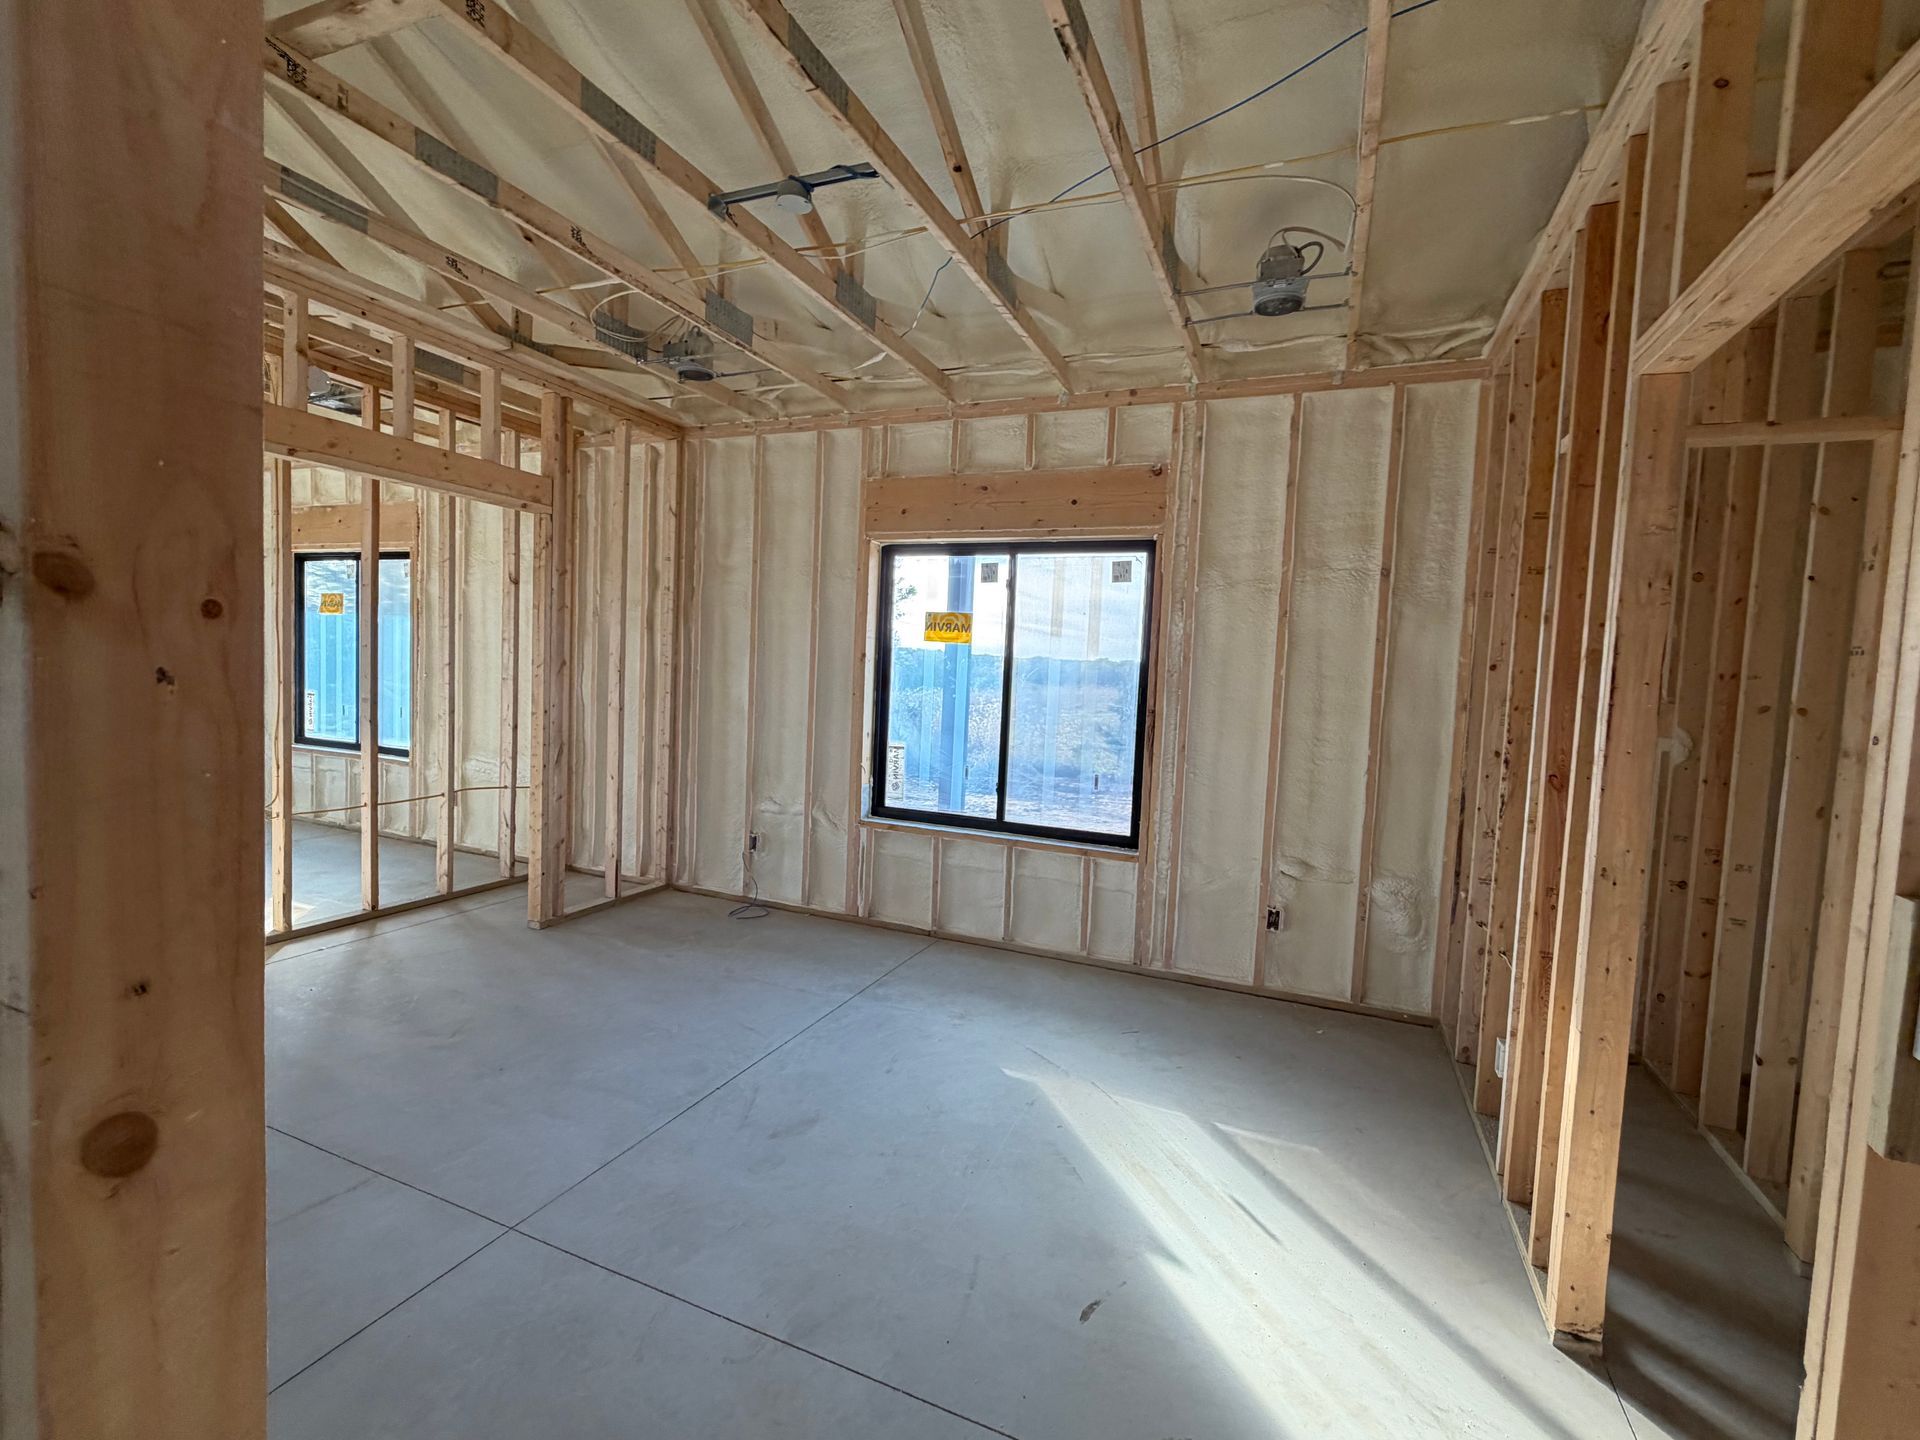
A warm shop starts with the building envelope. Learn where heat escapes, how closed-cell spray foam helps, and what upgrades give the biggest comfort gain.